Once you have Assigned Users in your project, you have the ability to assign different users to different parts of your assessment.
Assigning from the Dashboard
From your Assessment Dashboard, you’ll have the ability to assign users to tasks at a glance. Almost anything that requires data entry of some form will have the option to assign users.
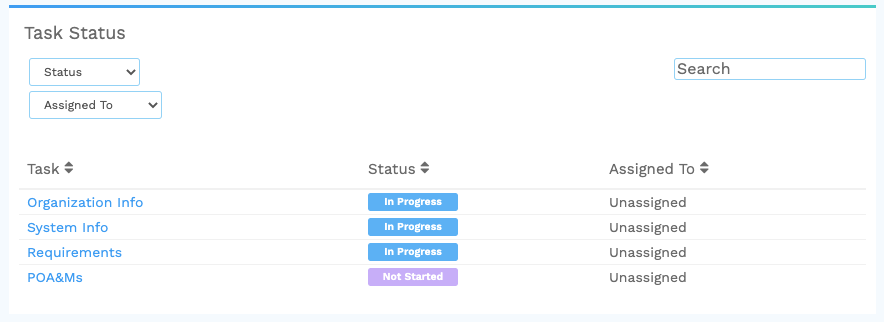
Let’s take a look at our Task Status panel.
You’ll see the Task name, Status, and an additional field labeled Assigned To. In the example below, we can see that all of these tasks have yet to be assigned to any specific users.

If you click on the word Unassigned under the Assigned To label, a list of your current assessment users will show up. Select the user you wish to assign the task to and click the green check mark. Inversely, if you’d like to remove an assigned user from this task, click the red X.

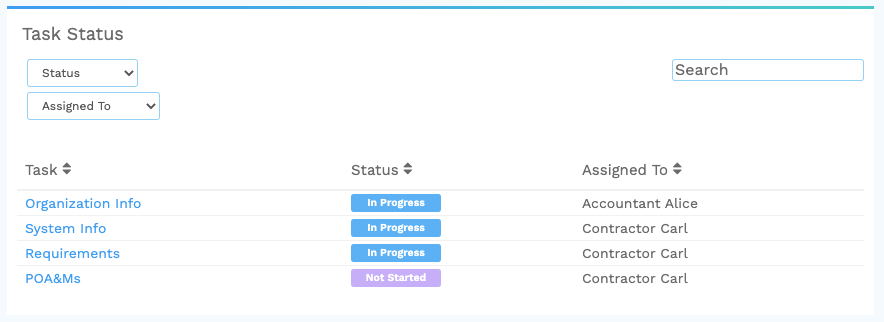
Once, you’ve selected the green arrow to confirm that you’re assigning a user to a task, they will show as the assigned user. Continuing our example, let’s assign “Accountant Alice” to Organization Info and “Contractor Carl” to System Info, Requirements, and POA&Ms.

Assigning Single Requirements
When you’re working in a specific requirement, you have the ability to assign user’s to the requirement without traveling back to the Assessment Dashboard.
In the top-right corner, locate the Task Progression menu. Upon clicking the icon to the right of the percentage, you’ll see the Task Progression menu. At the top, there is an option to assign a user this specific requirement. Follow similar steps from the instructions above to finalize your selection.

Sorting By – Assigned Users
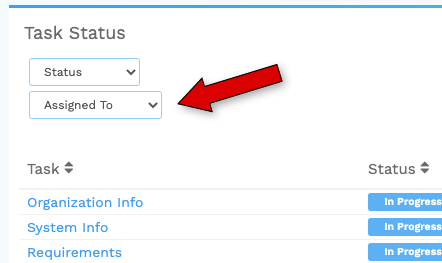
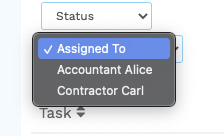
You can select the Assigned To drop down to view tasks only assigned to a specific user. Click anywhere in the drop down, select ther user, and the panel will update with the necessary view.
As someone who has been assigned a variety of tasks, this is a good way to keep organized and on top of your work load.


